
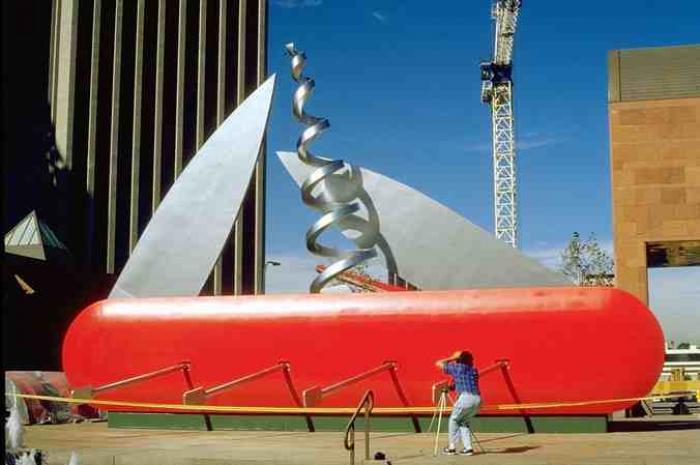
Claes Oldenburg is the perfect artist to share with children. Who wouldn't love his giant ice cream cone leaning precariously over the edge of a building? Or his monumental swiss army knife? And what about his huge floor cake made out of soft fabrics?
My students loved it all! Drawing inspiration from Mr. Oldenburg himself, as well as a lesson from Art Projects for Kids, respectively, I thought we would create our own giant letters from papier mache. It was most definitely an ambitious project, especially when your class is only one hour long and you don't have a sink in your classroom.
But anyhoo, we overcame our obstacles and completed this papier mache project in four class sessions. The classroom was loud, a little chaotic and messy. This is definitely the day when you will need to find several mom helpers to assist you because you will need as many hands as an octopus to ensure you finish each step when you should.
Since you can easily find step by step instructions for papier mache here and here, I won't reinvent the wheel but I will share how I broke down this project into manageable stages.
- Collect as much cardboard, newspaper, computer paper and masking tape as you can haul with you.
- Day #1: This class should be dedicated to drawing, tracing and cutting out your letter from cardboard using scissors. Use your letter as a stencil and create a second letter. Cut it out. We decided to go with a bigger sized letter (around 11 X14 inches) so it could stand up to the papier mache process.
- Start constructing letters using styrofoam cups and masking tape. Wrap in computer paper and tape it with masking tape in preparation for papier mache.
- Day #2: Time to papier mache. Make sure your student takes special care to get into all the bends and folds of their letter. It will look neater in the end.
- Let dry.
- Day #3: Paint one coat of white primer paint or spray paint them with a white primer color.
- Let dry.
- Begin to add color by painting your letter. Base colors first, to ensure even coverage. Smart Craft paint is inexpensive craft paint that comes in a huge variety of colors. And it costs .99 cents, so what is there not to love?
- Day #4: Finish painting fully constructed letter with acrylic paint.
- You can use an old hairdryer to speed the drying process. Once its dry to the touch, you can add patterns, multiple colors, you can design on it with markers, or in the case of my art student, you can splash paint all over it.
